基于Android的计步器(Pedometer)的讲解(一)――Fragment页面跳转
栏目:综合技术时间:2015-01-16 08:37:10
首先需要做的是实现几个页面的跳转,既类似微信的点击按钮,切换页面。
话不多说,这是1个简单的页面切换的Demo,先贴几张实现的效果:
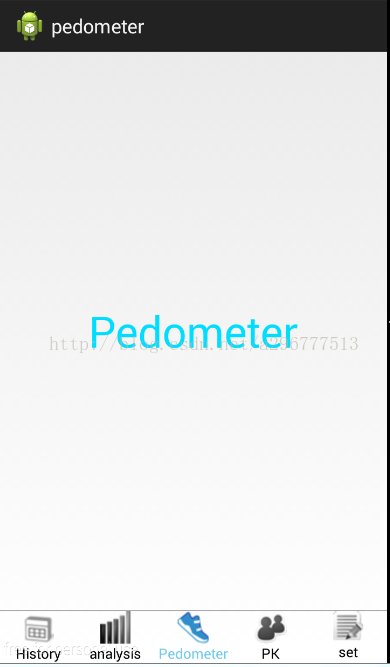
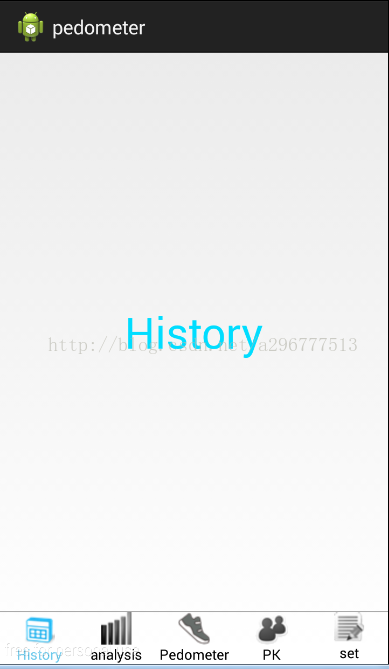
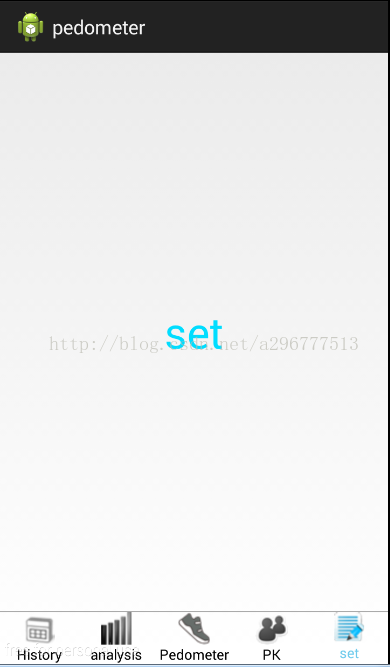
图片的底部是5个RadioButton,用来进行页面之间的切换。剩下的部份是1个LinearLayout的布局,用来镶嵌5个Fragment(碎片)的页面。
1共用到5个类:MainActivity、MyAdapter、FragmentHistory、FragmentAnalysis、FragmentPedometer、FragmentPK、FragmentSet
MainActivity的主要代码以下:
package com.example.changepage1;
import java.util.ArrayList;
import java.util.List;
import android.os.Bundle;
import android.support.v4.app.Fragment;
import android.support.v4.app.FragmentActivity;
import android.widget.RadioGroup;
public class MainActivity extends FragmentActivity {
private RadioGroup rg;
private List<Fragment> fragments;
@Override
protected void onCreate(Bundle savedInstanceState) {
super.onCreate(savedInstanceState);
setContentView(R.layout.page_mian);
rg = (RadioGroup) findViewById(R.id.radioGroup);//实例化radiogroup
fragments = new ArrayList<Fragment>();
//分别添加5个fragment
fragments.add(new FragmentHistory());
fragments.add(new FragmentAnalysis());
fragments.add(new FragmentPedometer());
fragments.add(new FragmentPK());
fragments.add(new FragmentSet());
new MyAdapter(this, fragments, R.id.Fragment, rg);//设置适配器
}
}
MyAdapter的代码以下:
package com.example.changepage1;
import java.util.List;
import android.support.v4.app.Fragment;
import android.support.v4.app.FragmentActivity;
import android.support.v4.app.FragmentTransaction;
import android.widget.RadioGroup;
import android.widget.RadioGroup.OnCheckedChangeListener;
/**
* 这是自己写的1个适配器
*
* @author 李垭超 Date: 2015⑴⑵ Time: 下午3点
*/
public class MyAdapter implements OnCheckedChangeListener {
private List<Fragment> fragments; // 1个tab页面对应1个Fragment
private RadioGroup rgs; // 用于切换tab
private FragmentActivity fragmentActivity; // Fragment所属的Activity
private int fragmentContentId; // Activity中所要被替换的区域的id
private int currentTab = 2; // 当前Tab页面索引
public MyAdapter(FragmentActivity fragmentActivity,
List<Fragment> fragments, int fragmentContentId, RadioGroup rgs) {
this.fragments = fragments;
this.rgs = rgs;
this.fragmentActivity = fragmentActivity;
this.fragmentContentId = fragmentContentId;
// 默许显示第1页
FragmentTransaction ft = fragmentActivity.getSupportFragmentManager()
.beginTransaction();
ft.add(fragmentContentId, fragments.get(2));
ft.commit();
this.rgs.setOnCheckedChangeListener(this);
}
/**
* 监听radiobutton改变时间,当选择了不同的radiobutton会动身这个函数
*/
public void onCheckedChanged(RadioGroup group, int checkedId) {
for (int i = 0; i < rgs.getChildCount(); i++) {
if (rgs.getChildAt(i).getId() == checkedId) {
Fragment fragment = fragments.get(i);
FragmentTransaction ft = obtainFragmentTransaction(i);
getCurrentFragment().onPause(); // 暂停当前tab
if (fragment.isAdded()) {
fragment.onResume(); // 启动目标tab的onResume()
} else {
ft.add(fragmentContentId, fragment);
}
showTab(i); // 显示目标tab
ft.commit();
}
}
}
public Fragment getCurrentFragment() {
return fragments.get(currentTab);
}
private void showTab(int idx) {
for (int i = 0; i < fragments.size(); i++) {
Fragment fragment = fragments.get(i);
FragmentTransaction ft = obtainFragmentTransaction(idx);
if (idx == i) {
ft.show(fragment);
} else {
ft.hide(fragment);
}
ft.commit();
}
currentTab = idx; // 更新目标tab为当前tab
}
private FragmentTransaction obtainFragmentTransaction(int index) {
FragmentTransaction ft = fragmentActivity.getSupportFragmentManager()
.beginTransaction();
// 设置切换动画
if (index > currentTab) {
ft.setCustomAnimations(R.anim.slide_left_in, R.anim.slide_left_out);
} else {
ft.setCustomAnimations(R.anim.slide_right_in,
R.anim.slide_right_out);
}
return ft;
}
}
FragmentHistory、FragmentAnalysis、FragmentPedometer、FragmentPK、FragmentSet的代码顺次为:
package com.example.changepage1;
import android.os.Bundle;
import android.support.v4.app.Fragment;
import android.view.LayoutInflater;
import android.view.View;
import android.view.ViewGroup;
/**
* 这是分析7天步数的碎片
* Author: 李垭超 email:296777513@qq.com
* Date: 2015⑴⑵
* Time: 下午2:39
*/
public class FragmentAnalysis extends Fragment{
private View view;
@Override
public View onCreateView(LayoutInflater inflater, ViewGroup container,
Bundle savedInstanceState) {
view = inflater.inflate(R.layout.analysis, container, false);
return view;
}
}
package com.example.changepage1;
import android.os.Bundle;
import android.support.v4.app.Fragment;
import android.view.LayoutInflater;
import android.view.View;
import android.view.ViewGroup;
/**
* 这是历史记录的碎片
* Author: 李垭超 email:296777513@qq.com
* Date: 2015⑴⑵
* Time: 下午2:39
*/
public class FragmentHistory extends Fragment{
private View view;
@Override
public View onCreateView(LayoutInflater inflater, ViewGroup container,
Bundle savedInstanceState) {
view = inflater.inflate(R.layout.history, container, false);
return view;
}
}
package com.example.changepage1;
import android.os.Bundle;
import android.support.v4.app.Fragment;
import android.view.LayoutInflater;
import android.view.View;
import android.view.ViewGroup;
/**
* 这是记步的碎片
* Author: 李垭超 email:296777513@qq.com
* Date: 2015⑴⑵
* Time: 下午2:39
*/
public class FragmentPedometer extends Fragment{
private View view;
@Override
public View onCreateView(LayoutInflater inflater, ViewGroup container,
Bundle savedInstanceState) {
view = inflater.inflate(R.layout.pedometer, container, false);
return view;
}
}
package com.example.changepage1;
import android.os.Bundle;
import android.support.v4.app.Fragment;
import android.view.LayoutInflater;
import android.view.View;
import android.view.ViewGroup;
/**
* 这是记步的碎片
* Author: 李垭超 email:296777513@qq.com
* Date: 2015⑴⑵
* Time: 下午2:39
*/
public class FragmentPK extends Fragment{
private View view;
@Override
public View onCreateView(LayoutInflater inflater, ViewGroup container,
Bundle savedInstanceState) {
view = inflater.inflate(R.layout.pk, container, false);
return view;
}
}
package com.example.changepage1;
import android.os.Bundle;
import android.support.v4.app.Fragment;
import android.view.LayoutInflater;
import android.view.View;
import android.view.ViewGroup;
/**
* 这是设置的碎片
* Author: 李垭超 email:296777513@qq.com
* Date: 2015⑴⑵
* Time: 下午2:39
*/
public class FragmentSet extends Fragment{
private View view;
@Override
public View onCreateView(LayoutInflater inflater, ViewGroup container,
Bundle savedInstanceState) {
view = inflater.inflate(R.layout.set, container, false);
return view;
}
}
这个例子的的完全demo在:
http://download.csdn.net/detail/a296777513/8320619
完全的Pedometer项目在github上:
https://github.com/296777513/pedometer
------分隔线----------------------------
------分隔线----------------------------