spring boot 学习--08---搭建ssmm-02
接上篇http://blog.csdn.net/javastudyr/article/details/52585770
这篇开始来配置springmvc,并测试
思路:
- 在web.xml配置servlet
- 创建springmvc配置文件
- 创建TestController
- 创建测试页面
- 基本测试
- 乱码测试
- 时间测试
(1)web.xml配置springmvc
<!-- springmvc servlet配置 -->

    <servlet>
        <servlet-name>front</servlet-name>
    <servlet-class>org.springframework.web.servlet.DispatcherServlet</servlet-class>
        <init-param>
            <param-name>contextConfigLocation</param-name>
            <param-value>classpath:spring-mvc.xml</param-value>
        </init-param>
    </servlet>

    <servlet-mapping>
        <servlet-name>front</servlet-name>
        <url-pattern>*.do</url-pattern>
    </servlet-mapping>
(2)创建spring-mvc.xml 文件
springmvc 配置扫描,自动装配,JSP解析
    <context:component-scan base-package="com.study" use-default-filters="false">
        <!--扫描 cn.itcast下的 所有类中  注解是 Controller的类 -->
        <context:include-filter type="annotation" expression="org.springframework.stereotype.Controller"/>
    </context:component-scan>
    <!--自动装配 -->
    <context:annotation-config/>

    <!-- Jsp的视图解析器 -->
    <bean id="jspViewResolver"  class="org.springframework.web.servlet.view.InternalResourceViewResolver">
        <property name="prefix" value="/WEB-INF/view/"/>
        <property name="suffix" value=".jsp"/>
    </bean>
(3)创建TestController
package com.study.controller;

import org.springframework.stereotype.Controller;
import org.springframework.web.bind.annotation.RequestMapping;
import org.springframework.web.bind.annotation.ResponseBody;

import com.study.bean.TestTb;

Controller
public class TestController {

    @RequestMapping("/test/springmvc/testTbAdd")
    public String test_testtb(TestTb tb){

        System.out.println(tb.toString());

        return "success";
    }
}
(4)创建测试页面和success页面,src/main/webapp/下创建index.jsp ,注意修改编码
<%@ page language="java" contentType="text/html; charset=UTF⑻"
    pageEncoding="UTF⑻"%>
<!DOCTYPE html PUBLIC "-//W3C//DTD HTML 4.01 Transitional//EN" "http://www.w3.org/TR/html4/loose.dtd">
<html>
<head>
<meta http-equiv="Content-Type" content="text/html; charset=UTF⑻">
<title>Insert title here</title>
</head>
<body>
    <form action="test/springmvc/testTbAdd.do" method="POST">
        名称:<input type="text" name="name"/><br/>
            <input type="submit" value="提交"/>
    </form>

</body>
</html>
在webapp/WEB-INF/view/下创建success.jsp
<%@ page language="java" contentType="text/html; charset=UTF⑻"
    pageEncoding="UTF⑻"%>
<!DOCTYPE html PUBLIC "-//W3C//DTD HTML 4.01 Transitional//EN" "http://www.w3.org/TR/html4/loose.dtd">
<html>
<head>
<meta http-equiv="Content-Type" content="text/html; charset=UTF⑻">
<title>Insert title here</title>
</head>
<body>
    添加成功!
</body>
</html>
(5)开始基本测试
访问http://localhost:8080/boot-study-ssmm-xml/
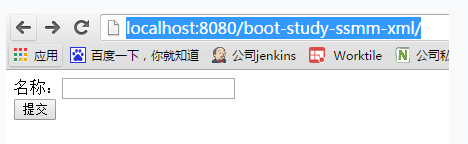
基本测试结果:

(6)在TestController中添加方法,开始中文测试
@RequestMapping(value="/test/unicode",produces = "plain/html; charset=UTF⑻")
public @ResponseBody String test_unicode(){
return "成功";
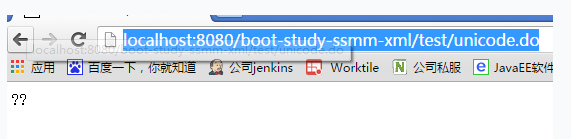
}访问:
http://localhost:8080/boot-study-ssmm-xml/test/unicode.do
中文测试返回结果:
解决办法
1. 在web.xml 中添加字符拦截器,注意加载到所有servlet,filter的前面
    <filter>
        <filter-name>encoding</filter-name>
    <filter-class>org.springframework.web.filter.CharacterEncodingFilter</filter-class>
        <init-param>
            <param-name>encoding</param-name>
            <param-value>UTF⑻</param-value>
        </init-param>
    </filter>
    <filter-mapping>
        <filter-name>encoding</filter-name>
        <url-pattern>*.do</url-pattern>
    </filter-mapping>
中文测试继续测试
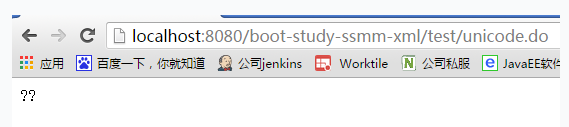
这是为何喃,我们加载了字符拦截器,好像还是不行,但是在访问http://localhost:8080/boot-study-ssmm-xml/ 这个接口的时候输入中文,后台是可以接收了
继续解决我们直接返回中文字符串的问题,这里是由于@ResponseBody 注解,这个注解返回的String,springmvc会直接用org.springframework.http.converter.StringHttpMessageConverter 来进行转发,这个沉默的编码是:ISO⑻859⑴
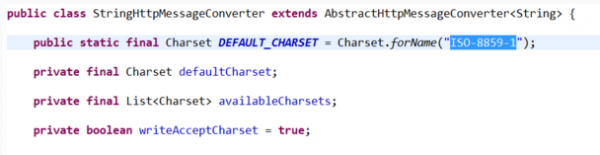
明白了,现在我们可以在springmvc中配置这个StringHttpMessageConverter 的编码
<bean class="org.springframework.web.servlet.mvc.annotation.AnnotationMethodHandlerAdapter" >
<property name="messageConverters">
<list>
<bean class = "org.springframework.http.converter.StringHttpMessageConverter">
<property name = "supportedMediaTypes">
<list>
<value>text/plain;charset=UTF-8</value>
</list>
</property>
</bean>
</list>
</property>
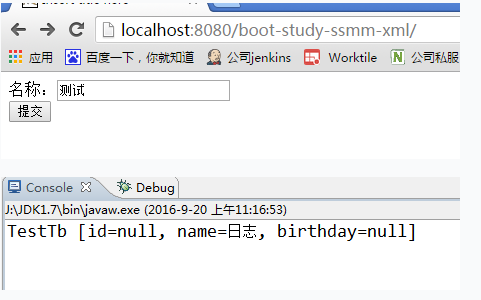
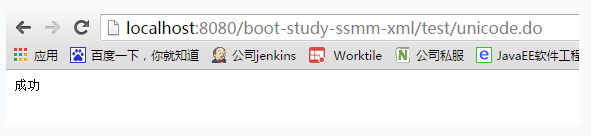
</bean>中文测试继续测试2
结果:
(7)时间测试
index.jsp修改以下
<%@ page language="java" contentType="text/html; charset=UTF⑻"
    pageEncoding="UTF⑻"%>
<!DOCTYPE html PUBLIC "-//W3C//DTD HTML 4.01 Transitional//EN" "http://www.w3.org/TR/html4/loose.dtd">
<html>
<head>
<meta http-equiv="Content-Type" content="text/html; charset=UTF⑻">
<title>Insert title here</title>
</head>
<body>
    <form action="test/springmvc/testTbAdd.do" method="POST">
        名称:<input type="text" name="name"/><br/>
        生日:<input type="text" name="birthday"/>
            <input type="submit" value="提交"/>
    </form>

</body>
</html>
时间测试:
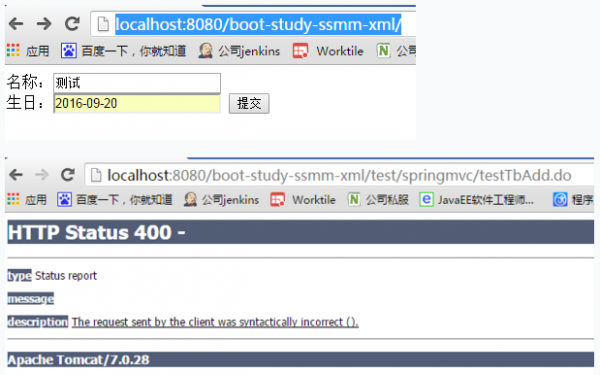
400,毛病,估计就是时间类型不匹配,我们在TestController中绑定1个时间解析来试试
    /**
     * 注册日期格式
     * @param request
     * @param binder
     */
    @InitBinder
    public void InitBinder(HttpServletRequest request ,ServletRequestDataBinder binder){
        DateFormat df = new SimpleDateFormat("yyyy-MM-dd");
        binder.registerCustomEditor(Date.class, new CustomDateEditor(df, false));
    }
时间测试1
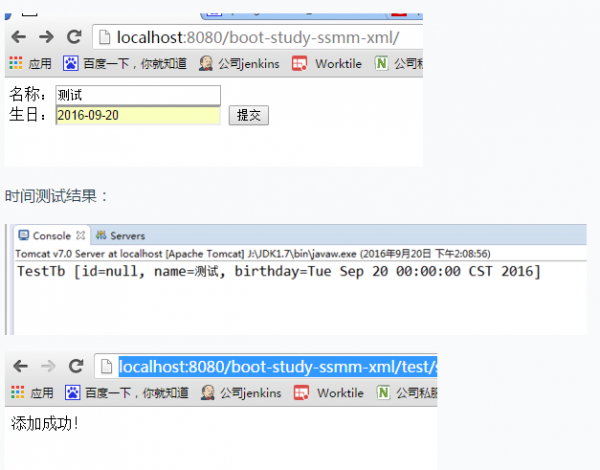
OK,到此所有的都大功告成
补充1下:时间转换器也能够全区配置,在springmvc中,配置以下:
<!-- 全局时间配置 -->
<bean class="org.springframework.web.servlet.mvc.annotation.AnnotationMethodHandlerAdapter">
    <property name="webBindingInitializer">
    <!-- 自定义事件处理器 -->
        <bean  class= "com.study.util.BindindInitializer" />
    </property>
</bean>
package com.study.util;

import java.text.DateFormat;
import java.text.SimpleDateFormat;
import java.util.Date;

import org.springframework.beans.propertyeditors.CustomDateEditor;
import org.springframework.web.bind.WebDataBinder;
import org.springframework.web.bind.support.WebBindingInitializer;
import org.springframework.web.context.request.WebRequest;

public class BindindInitializer implements WebBindingInitializer{

    public void initBinder(WebDataBinder binder, WebRequest request) {
        DateFormat df = new SimpleDateFormat("yyyy-MM-dd");
        binder.registerCustomEditor(Date.class, new CustomDateEditor(df, false));
    }

}
下篇就正式进入springboot的开发了